Keeping your gamepad properly calibrated is essential for smooth and accurate gameplay. Over time, joysticks can drift, buttons may feel unresponsive, and dead zones might appear. Luckily, calibration can help restore accuracy without immediately needing a repair or replacement.
In this guide, we’ll walk you through how to calibrate a controller on Windows PC, Steam, Xbox, PlayStation, Nintendo Switch, and with online tools.
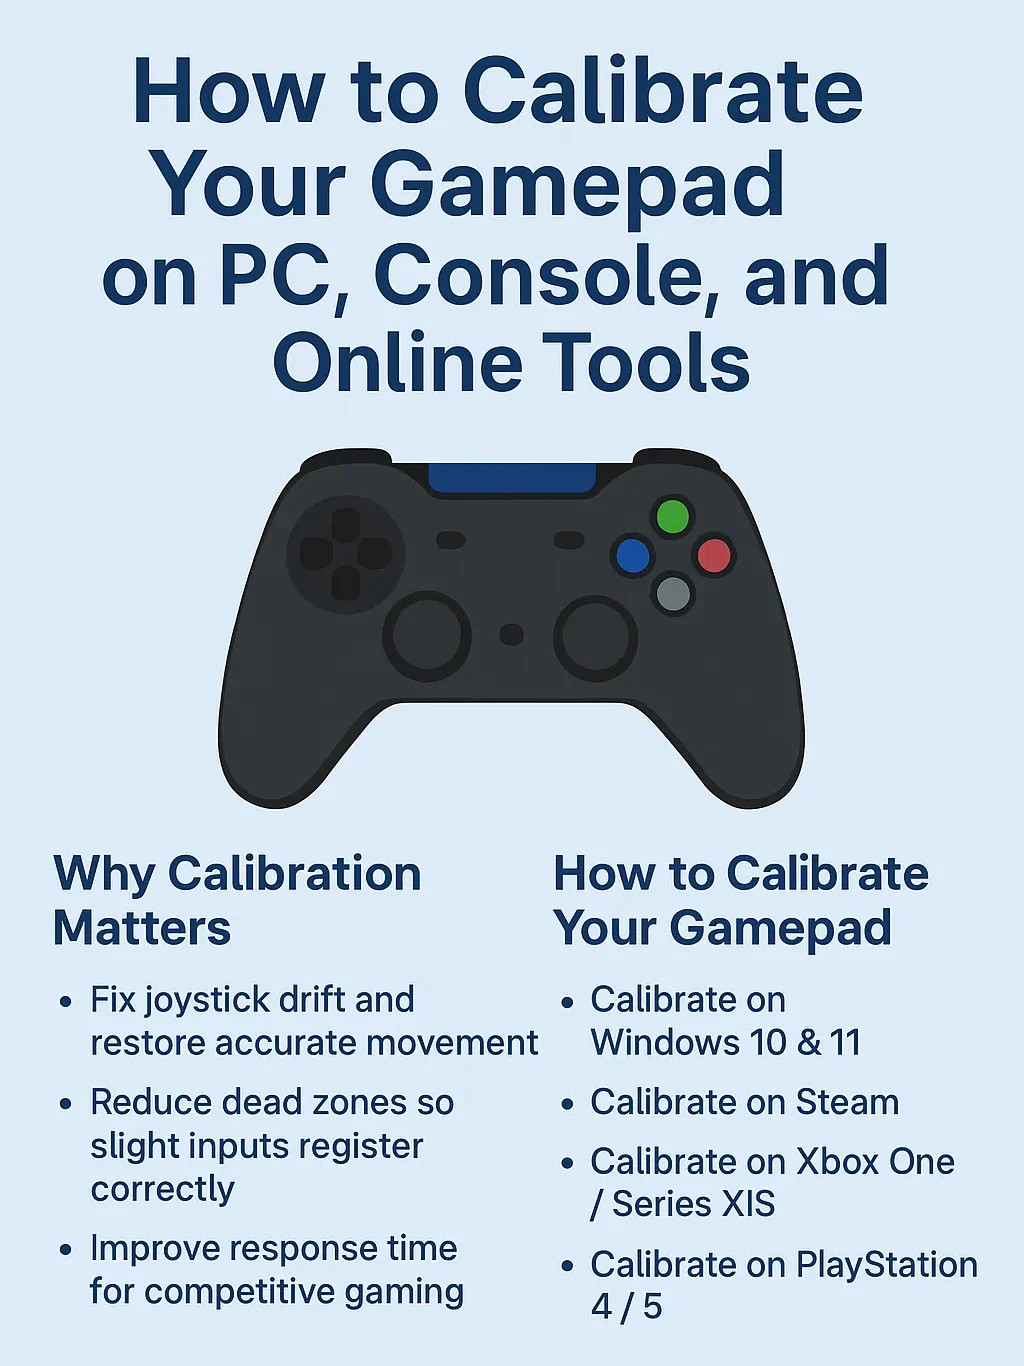
Why You Should Calibrate Your Gamepad
- Fix joystick drift and restore accurate movement.
- Reduce dead zones so slight inputs register correctly.
- Improve response time for competitive gaming.
- Extend controller lifespan by detecting problems early.
Whether you’re a casual gamer or a pro, calibration ensures your inputs are recognized exactly as intended.
How to Calibrate a Gamepad on PC
Calibrate on Windows 10 & 11
- Connect your controller via USB or Bluetooth.
- Open Control Panel → Devices and Printers.
- Right-click your controller → choose Game Controller Settings.
- Select your device → click Properties → Settings → Calibrate.
- Follow the calibration wizard to re-center joysticks and buttons.
✅ Pro Tip: After calibration, verify the results with an online tester like GamepadTester.site to check for drift and dead zones.
Calibrate a Controller in Steam
Steam provides powerful built-in calibration options:
- Open Steam → Settings → Controller → General Controller Settings.
- Enable your controller type (Xbox, PlayStation, Switch Pro).
- Select Calibrate Joysticks to adjust sensitivity and dead zones.
- Save and test in any Steam game.
This is especially useful if you notice drift in specific titles.
How to Calibrate Controllers on Consoles
Xbox One / Series X|S
- Xbox doesn’t offer a full calibration tool, but you can:
- Update controller firmware via the Xbox Accessories app.
- Adjust dead zones in games that support it.
- If drift persists, test with an online tool to confirm.
PlayStation 4 & 5
Sony consoles also lack direct calibration settings, but you can:
- Reset the controller using the small button on the back.
- Reconnect via USB and re-sync.
- Fine-tune sensitivity and dead zones inside specific games.
Nintendo Switch
Nintendo provides the best built-in calibration options:
- Go to System Settings → Controllers and Sensors → Calibrate Control Sticks.
- Follow the on-screen prompts to align the sticks.
- Also use Calibrate Motion Controls if gyro features feel off.
Using Online Calibration & Testing Tools
If you want a quick way to test your controller across devices, online tools are the best option.
- Gamepad Tester allows you to:
- Check button presses in real time.
- Detect joystick drift and dead zones.
- Verify calibration changes immediately.
- Works on PC, Mac, and even mobile (with OTG or Bluetooth).
These tools don’t save your data — all tests run locally in your browser for full privacy.
What If Calibration Doesn’t Fix the Problem?
Sometimes calibration isn’t enough. Common cases include:
- Persistent joystick drift → may need cleaning or joystick module replacement.
- Large dead zones → often caused by worn analog sticks.
- Button failures → hardware issue, not calibration.
In these cases, cleaning the controller with isopropyl alcohol, using contact cleaner, or professional repair may be required.
✅ Key Takeaways
- Calibrate your gamepad regularly to keep inputs accurate.
- Windows and Steam provide detailed calibration tools.
- Switch offers built-in calibration menus, while Xbox/PlayStation rely on resets and in-game settings.
- Online tools like GamepadTester.site are perfect for quick checks.
- If calibration fails, hardware repair may be the only solution.
Leave a Reply